
Last updated October 16, 2026
 Fire & smoke cleanup
 Mold remediation
 Storm response
 Sewage cleanup
 Reconstruction
Free visual inspection and a written scope of work before any mitigation begins - photos, moisture readings, and drying logs go in your claim file
The scope we write is the scope we bill. Anything new gets shown to you, in writing, before we touch it.
Get your free estimateDIY vs Professional Damage Restoration: The Yonkers Homeowner’s Decision Guide
A Yonkers homeowner spent $340 on a wet-vac rental, dried their flooded laundry room in a weekend, passed a visual inspection, and then discovered $23,000 in mold remediation costs eight weeks later, because the water had wicked six feet into the wall cavity before they started. That story is not unusual. In our experience serving Yonkers homes since 2005, it is the rule rather than the exception when restoration is treated as a weekend project instead of a moisture-migration problem. This guide tells you exactly which jobs the clock permits DIY on and which ones it doesn’t, so you never have to learn the expensive way. For related guidance, see our How to Hire a Damage Restoration Contractor in Yonkers: A Step-by-Step Guide.
Quick Answer
DIY restoration is only safe for small Category 1 clean-water spills (under 10 square feet) on non-porous surfaces with no finished walls, flooring, or insulation involved, and only if drying is completed within 48 hours. Every other scenario in a Yonkers home, including gray water, sewage, any amount of water touching drywall or subfloor, and anything involving HVAC ductwork, requires professional-grade drying equipment and moisture documentation. The deciding factor is not skill or effort. It is the invisible clock on mold activation inside enclosed cavities.
Restoration work we handle
Table of Contents
- The 48-72 Hour Mold Activation Window
- Water Categories: What Is Actually in the Water
- Scenarios That Are Genuinely Safe to DIY
- Scenarios That Require Professional Equipment
- Why Consumer Dehumidifiers and Box Fans Don’t Work
- The Insurance Dimension: Documentation Is the Difference
- What You Can Do Alongside a Professional Crew
- Common Mistakes to Avoid
- When to Call a Professional
- Frequently Asked Questions
The 48-72 Hour Mold Activation Window
Mold spores exist in every Yonkers home, including homes that have never had water damage. They are dormant most of the time. What wakes them up is a combination of moisture, temperature, and organic food sources like drywall paper, wood framing, and carpet backing. The widely accepted restoration industry timeline is that mold colonies can begin forming within 48 to 72 hours of water exposure. That does not mean mold is visible at 72 hours. It means the biological process has started inside materials where you cannot see it.
What most homeowners miss is that the window is not fixed. It shrinks or stretches based on indoor conditions. In a Yonkers summer, when indoor temperatures hover in the high 70s to mid 80s and humidity sits above 60 percent, the activation window can compress to under 48 hours, as covered in our Seasonal Damage Restoration Care for Yonkers: Year-Round Homeowner’s Guide. Homes without central air, which are common in older Yonkers neighborhoods like Park Hill and Dunwoodie, are especially vulnerable. A damp wall cavity at 80 degrees is a mold incubator, not a passive puddle. In winter, when forced-air heating dries indoor air to 30 percent humidity, a small spill might take longer to trigger mold growth. But in a closed wall cavity against a cold exterior wall, condensation can create the same high-humidity microclimate even when the rest of the house feels dry.
Here is what the timeline actually looks like in a typical Yonkers flooded basement:
- Hour 0-2: Water spreads outward and downward, flowing under baseboards, into wall cavities, and beneath vinyl plank or laminate flooring. Visible standing water covers maybe 20 percent of the total affected area.
- Hour 2-24: Capillary action pulls water upward into drywall, typically 6 to 24 inches above the visible waterline depending on material density and humidity. Wood studs and subfloor begin absorbing water.
- Hour 24-48: Materials reach equilibrium in enclosed cavities. Relative humidity inside wall voids approaches 100 percent. This is when the clock starts ticking loudly.
- Hour 48-72: If cavities are not actively dried below 60 percent relative humidity, dormant mold spores shift into active growth. No visible mold yet, but the biological process has started.
- Day 7-14: Visible mold appears on accessible surfaces. By this point, the contamination has typically spread inside cavities far beyond what is visible.
In our experience, this is the most common failure in DIY restoration: drying stops when the surface feels dry. The wall cavity behind the drywall does not feel dry. The insulation does not feel dry. The subfloor under a finished floor does not feel dry. Surface dryness and structural dryness are different measurements entirely, and the mold does not care which one you checked.
Water Categories: What Is Actually in the Water
The restoration industry classifies water damage into three categories based on what is in the water, not how much water there is. This classification determines whether a homeowner can safely handle the cleanup themselves. It is the first decision point, and it matters more than square footage.
- Category 1: Clean Water. Water from a broken supply line, an overflowing bathtub with no soap, or a sink faucet left running. This water starts out safe to handle. It can be a DIY candidate under the right conditions.
- Category 2: Gray Water. Water with significant contamination that can cause illness if ingested, including washing machine overflow, dishwasher discharge, and toilet overflow with urine but no feces. This water requires antimicrobial treatment and professional extraction. It is not a DIY job.
- Category 3: Black Water. Sewage, floodwater from outside, groundwater intrusion, and any water that has been sitting for more than 48 hours and undergone bacterial growth. This water is a biohazard. Nothing about it is DIY. It requires full containment, disposal of affected materials, and professional disinfection.
There is a fourth unofficial category that causes a lot of trouble in Yonkers: Category 1 water that was left alone too long. Clean water degrades. A clean supply line break that sits for three days becomes Category 3 by default, because standing water breeds bacteria. We have watched homeowners treat a three-day-old washing machine leak as a simple mop-up because it started as gray water. By the time we arrived, the baseboards were swelling, the drywall wicked 18 inches, and the smell told us everything about the bacterial load. Time degrades categories. The Clock does not just activate mold. It converts clean water into contaminated water.
Scenarios That Are Genuinely Safe to DIY
There are water incidents where a wet-dry vac, towels, and a fan are the correct response. The key is that the water never touched a finished assembly. If the spill sits entirely on tile, concrete, vinyl sheet flooring with no underlayment, or another non-porous surface, and you can see the full boundary of where the water went, DIY is reasonable. We want to be direct about this: we are not in the business of telling Yonkers homeowners they need a restoration crew to mop a puddle.
A safe DIY water incident meets every one of these conditions:
- The water is Category 1 clean water from a known source that you saw break or overflow.
- The total affected area is under 10 square feet, and you can see every inch of the boundary.
- The water is sitting on tile, sealed concrete, vinyl, or another non-porous surface.
- No water has touched drywall, baseboards, cabinets, insulation, or subfloor.
- You start drying within one hour of the spill.
- You can dry the area completely within 48 hours at the absolute latest, and you have a way to verify it.
- There is no odor after drying, no staining, and no swelling of adjacent materials.
A spilled glass of water on a kitchen floor is not a restoration job. A small overflow in a bathroom that stays on tile and gets towered up within minutes is not a restoration job. These are cleaning jobs, and every Yonkers homeowner should handle them with a mop and a fan. The problem is that water ignores boundaries. If the tile abuts a wall with wood baseboard, the water goes under the baseboard. If the vinyl floor has any gap at the seams, the water goes through the gap. If the cabinet toe-kick is particle board, it drinks water like a sponge. The moment any finished material is involved, the DIY clock has expired.
Scenarios That Require Professional Equipment
This is where the decision matrix gets uncomfortable, because the scenarios on this list do not look dramatic. A two-inch-deep puddle from a water heater leak in a finished basement seems manageable. The problem is where the water goes, not where the water is. Here are the scenarios that require professional restoration regardless of homeowner skill, effort, or available weekend time:
- Any Category 2 or Category 3 water. Gray and black water carry biological contaminants. Extraction alone is not enough. Affected porous materials must be removed or professionally disinfected, and cross-contamination must be contained. This is not a skill issue. It is a safety issue, and safety training is why organizations like the IICRC exist.
- Any affected area larger than roughly 10 square feet. A 40-square-foot puddle on a concrete slab is still a puddle, but the drying dynamics change. The volume of evaporation overwhelming a residential dehumidifier, and standing water in a large area inevitably finds its way to every adjacent wall and floor assembly.
- Any water that has touched drywall, baseboards, insulation, or subfloor. These materials are hygroscopic. They pull water in through capillary action and hold it inside. Drywall that is wet at the bottom edge is never wet at just the bottom edge. Insulation in a wall cavity acts like a sponge that cannot be wrung out without opening the wall. Subfloor under vinyl or laminate holds water for weeks, long after the surface feels dry.
- Any water in HVAC ductwork or near return vents. Water in ducts spreads mold spores through the entire house when the system runs. It also rusts ductwork and damages the blower motor. This requires professional drying and antimicrobial treatment of the duct system.
- Any water that has been sitting for more than 48 hours. By this point, the contamination level has degraded, the moisture has migrated up to two feet into surrounding materials, and the mold clock has already started. This is now a remediation job, not a drying job.
If your situation matches anything on this list, the decision is made. The next decision is who to call, and we’ll address that directly in the sections below.
Why Consumer Dehumidifiers and Box Fans Don’t Work
The most common objection we hear in Yonkers is an honest one: “I have a dehumidifier in the basement. I run it all summer. Why can’t I just run it longer?” The answer comes down to a branch of physics called psychrometrics, which is the study of how temperature, humidity, and airflow interact, and it is the foundation of professional restoration drying.
Psychrometric readings (measuring the moisture in the air and materials) tell us when a structure is genuinely dry, not just dry on the surface. The professional drying target for a flooded structure is not simply “no visible water.” It is specific moisture content levels in wood and drywall, typically below 16 percent for wood and below 14 percent for drywall, combined with relative humidity inside cavities below 60 percent. These numbers prevent mold activation. Consumer equipment cannot reach them in enclosed spaces, and here is why.
Mold grows where the moisture migrated, inside walls, under flooring, behind baseboards. A box fan pushes air across the surface. It does not push air into a wall cavity, and it does not push air through carpet padding or under vinyl plank. Surface airflow makes the visible wet area feel dry while the hidden areas stay saturated. In a wall cavity, the air becomes stagnant at 100 percent humidity. No fan in the hallway changes it.
A consumer dehumidifier faces a capacity problem. The typical big-box dehumidifier removes 22 to 50 pints of water per day at saturation. A saturated wall cavity can easily hold 10 to 15 gallons of water. A saturated subfloor holds more. By the time a consumer unit removes enough moisture from the ambient air to start drawing moisture out of the materials, the 48-to-72-hour window has passed. Meanwhile, the indoor relative humidity has dropped enough to make the surface feel dry, which is worse, because it creates false confidence while the cavities remain saturated.
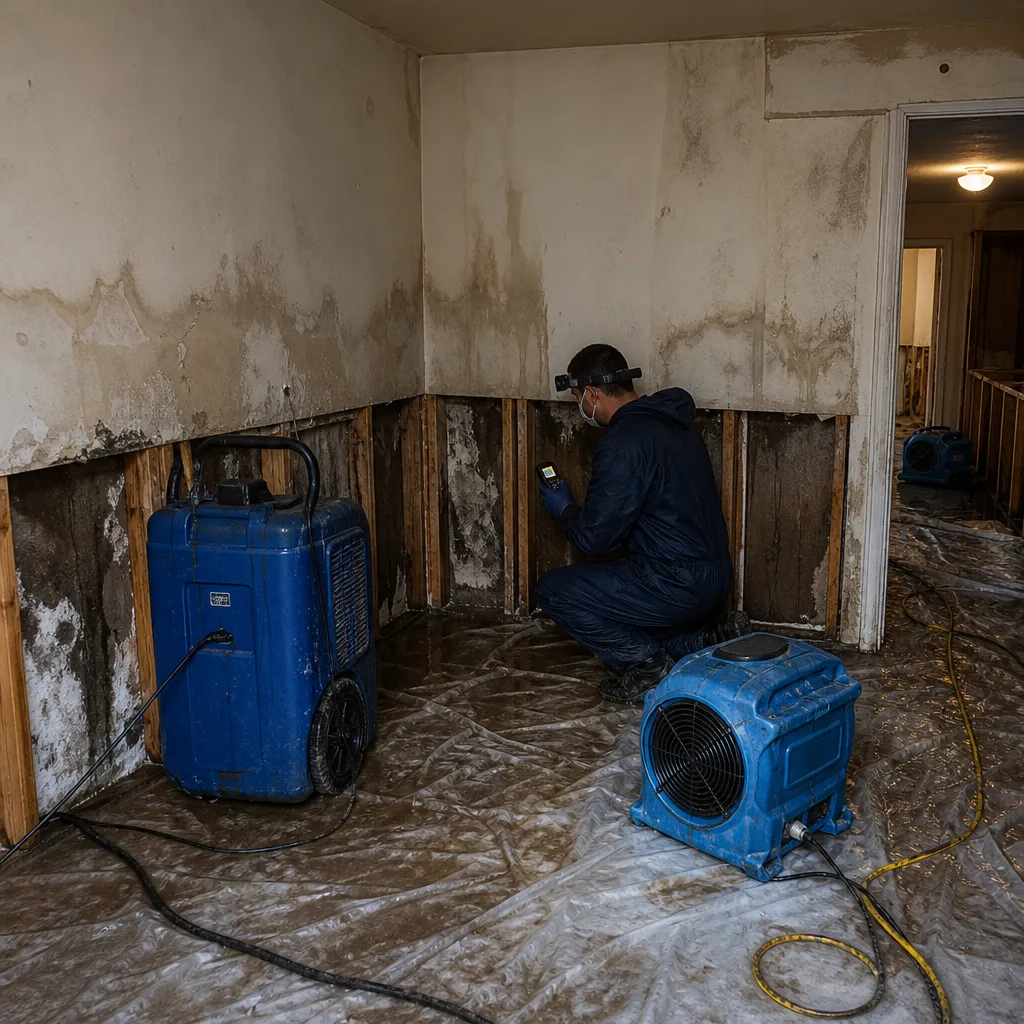
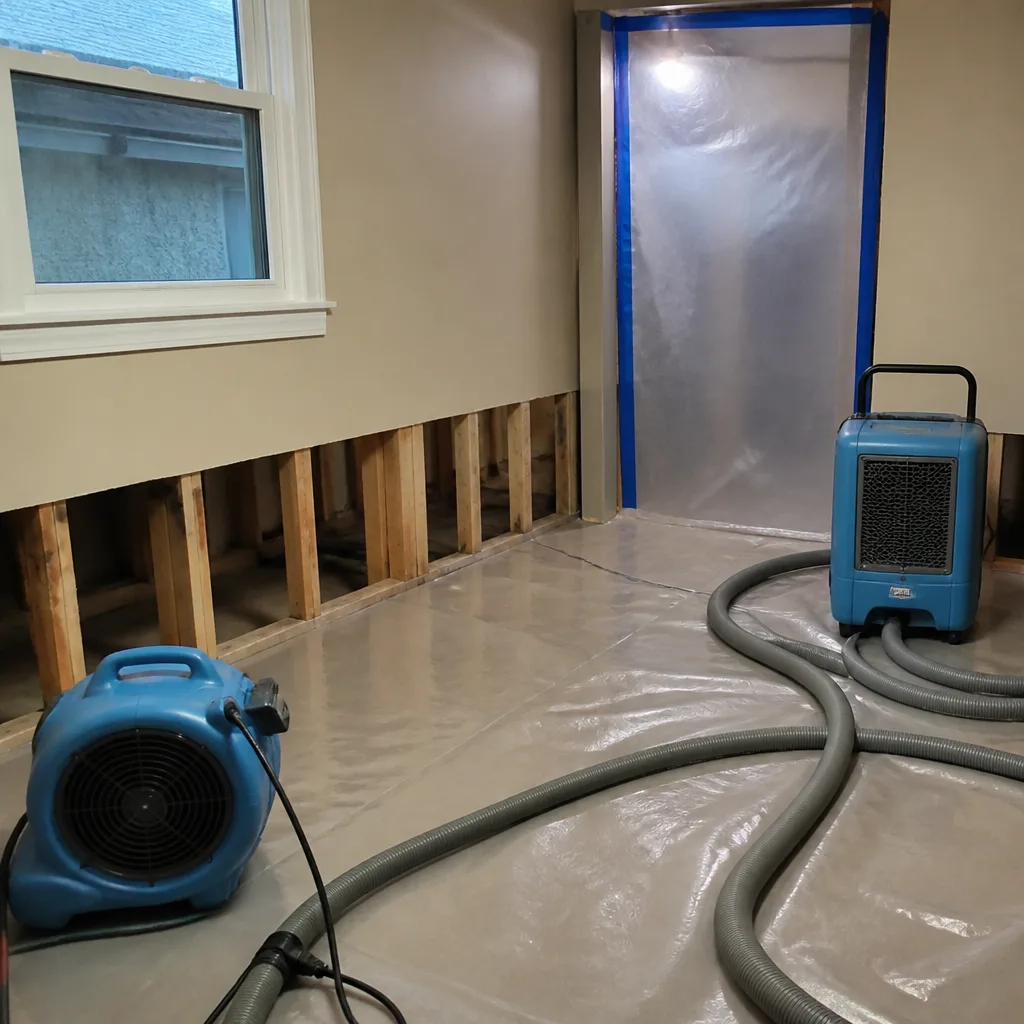
Professional restoration companies use equipment with dramatically different specifications. High-output refrigerant and desiccant dehumidifiers from XPOWER and B-Air remove 130 to 280 pints per day. High-velocity air movers create 3,000 to 5,000 CFM of focused airflow, not the 200 CFM of a box fan. Injectidry systems attach directly to wall cavities and floor assemblies, actively evacuating moisture from inside the spaces we could never dry with ambient air alone. These are commercial-grade tools engineered for structural drying, not comfort conditioning. The difference is not incremental. It is the difference between having a correct answer and having a very confident wrong answer.
One more point that gets lost in the equipment discussion: evaporation cooling changes the equation. As water evaporates, the surface cools, which slows further evaporation. Professional drying manages this by combining heat, airflow, and extraction. Consumer drying often stalls because the evaporative cooling effect drops the material temperature to a point where the remaining moisture refuses to leave. The surface feels cool and dry to the touch. The cavity is wet and cold. The mold loves it.
The Insurance Dimension: Documentation Is the Difference
Insurance adjusters are not anti-DIY. They are anti-unsupported-claims. When you file a water damage claim, the carrier asks for evidence that the damage occurred, that you took reasonable steps to mitigate it, and that the costs you are claiming are necessary and reasonable. DIY restoration fails at the second step almost without exception. Here is why, and here is what to do about it.
Traditionally, adjusters require a moisture log. This is a document showing daily moisture readings from affected materials, taken with a professional moisture meter, recorded over the course of the drying period. It proves the structure was dry before any repair work began. Without it, an adjuster cannot verify that the drying was adequate, and they will typically reduce or deny any mold-related portion of the claim on the grounds that proper mitigation did not occur.
Equipment records are the second requirement. A professional restoration company provides documentation of what equipment was placed, where it was placed, and how long it ran. This shows the carrier that industry-standard drying was performed. A homeowner armed with a wet-vac and a rental dehumidifier has none of this documentation, even if they did everything correctly.
The third documentation piece is the scope of damage. A professional crew photographs and documents the full extent of the moisture migration before removing anything, which is the evidence the carrier needs to approve replacement costs. A homeowner who tears out wet drywall before taking photos has destroyed the physical evidence of the damage, and the adjuster is under no obligation to take the homeowner’s word for it.
In Yonkers, where homes range from 100-year-old brick colonials to mid-century splits to newer construction, the documentation challenges vary. Lath-and-plaster walls, common in older Yonkers homes, absorb water differently than modern drywall and require different drying documentation. The frame construction common in newer homes dries differently than masonry. A professional restoration company works directly with the insurance carrier, speaking the adjuster’s language, providing the moisture logs, equipment records, and scope documentation that turn a denied claim into a covered one. This is not a service we bundle. It is a core part of the restoration job, because the water damage and the insurance claim are the same event.
If you are determined to self-mitigate and file a claim, document everything. Photos of standing water before you touch it. Photos of every wet item. A written log of times and actions. Receipts for equipment rentals. Moisture readings if you have a meter, which most homeowners don’t. It will still likely be insufficient, but it is better than nothing.
What You Can Do Alongside a Professional Crew
Hiring a professional restoration company does not mean standing on the sidewalk while strangers do everything. There is real, billable-hours-reducing work that a homeowner can do safely alongside a crew, and doing it well can materially reduce the total cost of the job. The key is understanding which tasks are yours and which tasks require technical training.
The highest-value work you can do is content removal. Removing your own books, photo albums, clothes, toys, and furniture from the affected area, and separating damaged items from undamaged items, is time-consuming work that does not require technical skill. Every hour you spend doing that is an hour the crew is not billing. The same applies to temporary protection. Moving undamaged possessions to a safe floor of the house, covering doorways with plastic, and helping to create a contained work zone are all legitimate homeowner tasks.
Documentation is also yours. Take photos of everything, including serial numbers on damaged appliances and electronics, model numbers on furniture, and any pre-existing conditions that are not related to the water damage. Your photos supplement the crew’s photos and strengthen your insurance claim. Just do not move or remove anything before the crew documents the scene. The order matters.
Here is the clean division of labor:
- You do: photographic documentation, content removal, sorting damaged from undamaged items, moving furniture to safety, protecting undamaged areas, making phone calls to your insurance carrier.
- The crew does: water extraction, moisture mapping, psychrometric readings, equipment placement, structural drying, antimicrobial application, controlled demolition, moisture log maintenance, equipment monitoring, and final clearance documentation.
- Nobody does: opening wall cavities without knowing what is inside, removing flooring without documenting what is underneath, and using household cleaning products on mold because bleach makes it worse by adding moisture and driving spores deeper into the material.
If you want to be hands-on, be hands-on with the contents, not the structure. The structure is where the technical risk lives, and it is where the professional training matters most.
Common Mistakes to Avoid
- Stopping when the surface feels dry. Drywall, subfloor, and insulation stay wet for weeks after the visible surface dries. Touch is not a measurement. If you did not take a moisture reading, you do not know if it is dry.
- Using bleach on mold. Bleach is not an effective mold remediation agent on porous materials, and it adds moisture while failing to kill the root structure beneath the surface. It drives spores deeper into the material. If it is on drywall, insulation, or wood, a professional is required.
- Waiting to see if it “gets dry on its own.” It will not. A flooded wall cavity in a Yonkers summer dries slower than mold grows. By the time you know it is not drying, the mold is already growing.
- Pulling out wet carpet without checking the pad and subfloor. The carpet can look dry on top while the pad underneath is saturated and the subfloor is swelling. Removing the carpet without addressing what is underneath just relocates the moisture problem underground.
- Running the HVAC system to “help dry things out.” This spreads contaminated air and mold spores through the entire duct system and into every room of the house. If water or high humidity touched the return air, shut the system off and leave it off until a professional evaluates it.
- Filing an insurance claim before documenting anything. Take photos first. Every wall, every floor, every wet item. The claim adjusts against the documentation, and nothing is worse than a demolition without a photo record.
- Assuming a small leak is a small problem. A slow drip behind a wall for six months has been feeding mold the whole time. The visible stain is the tip. The moisture mapping is what tells you the full extent, and that requires a professional moisture meter, not a visual inspection.
When to Call a Professional
If the water was not clean, if it touched drywall or flooring, if it sat for more than a day, if you smell anything musty or earthy, if you see staining on baseboards or ceilings, if you hear water running where it should not be, if your insurance claim requires documentation, or if you simply do not want to be the person who discovers in eight weeks that the problem is $23,000 worse than you thought. Call. The decision is not about courage. It is about physics and biology, neither of which respects effort. Water Damage Restoration in Yonkers is our core service, and the same drying science applies whether the water came from a broken pipe, a failed sump pump, or an overflowing tub. Storm Damage Restoration in Yonkers handles the wind-driven rain and groundwater intrusion that accompany heavy weather. Mold Remediation in Yonkers is what happens when the clock ran out before we arrived, and we handle that with the same care. Marsh Water Damage Yonkers offers free estimates in Yonkers, call (914) 233-3437. A live person answers 24 hours a day, every day, including holidays. If you are reading this at 2 a.m. because water is currently spreading, call now.
Frequently Asked Questions
Most residential water extractions and drying jobs in Yonkers run between $1,800 and $5,500 before any rebuild work, depending on the affected area, the water category, and how long the water has been sitting. Sewage and black water jobs run higher because they require full containment, material disposal, and antimicrobial treatment. Every job with Marsh Water Damage Yonkers gets a written price before any work starts, so the number on the work order is the number you pay, and it does not change after demo begins. Call (914) 233-3437 for an exact quote after a free on-site assessment.
Only if the water is clean, the affected area is under 10 square feet on non-porous surfaces, no building materials are involved, and you complete drying within 48 hours. That combination is rare in basement floods, because basements in Yonkers are often below grade with concrete or CMU walls that hold moisture, and any drywall or finished flooring in the basement changes the drying requirements entirely. Our most common basement call is a homeowner who DIY-dried the floor and then found mold behind the baseboards three weeks later.
Mold can begin activating within 48 to 72 hours of water exposure, and in a warm, humid Yonkers summer, the window can shorten to under 48 hours, especially in homes without central air conditioning. Visible mold typically appears between day seven and day fourteen. The mold that matters first is the mold you cannot see, growing inside wall cavities and under flooring, and by the time it is visible, the contamination inside the structure is already substantial.
Most homeowner policies cover sudden and accidental water damage, such as a burst pipe or an overflowing appliance, with the coverage determined by the source of the water and the timeliness of your mitigation. Gradual damage from a slow leak is typically excluded, which is why documentation and speed matter from the first hour. Your restoration company should provide moisture logs, equipment records, and photo documentation directly to your adjuster, because these records are what turn a report of water damage into an approved claim. For a complete breakdown of what to monitor, see our Water Damage Restoration Maintenance Checklist for Yonkers Homeowners.
It means you receive a written scope of work with a line-item price breakdown before any extraction, drying, or demolition begins, and that price is what you pay unless the scope changes in writing with your approval. It is not an estimate that gets revised upward after the crew opens the wall. If additional damage is found during the work, you are told before the additional work is done, and the additional work is priced in writing before it begins. This is the standard at Marsh Water Damage Yonkers home, and it is printed on every work order along with the 365-Day Done Right Promise.
A background-checked, identity-verified, uniformed technician whose name and photo are sent to you before the visit, who shows a photo ID badge at the door every time. The Threshold Verified standard applies to every visit, not just the first one. You will know who is coming before they knock, and you will be able to verify their identity at the door. If a repair is not right within 365 days, we make it right, with a free second visit included automatically, documented on every work order, never as a promotional offer and never as something you have to argue for.
The Bottom Line
The decision between DIY and professional damage restoration in Yonkers comes down to one question: do you know where the water went, or do you only know where it was? If you can see the full boundary of a small clean-water spill on non-porous surfaces, mop it up, dry it, and move on. If the water touched anything finished, sat for more than a day, or came from anything but a clean supply line, the clock is running against you inside the walls and floors where you cannot see. The difference between professional restoration and DIY is not effort. It is moisture measurement, structural drying science, insurance documentation, and the certainty that when the job is done, the water is actually gone. Written by Tobias Reyner, Owner at Marsh Water Damage Yonkers, serving Yonkers since 2005. Explore more guides & resources from our team.
See the difference
 Before
 After
After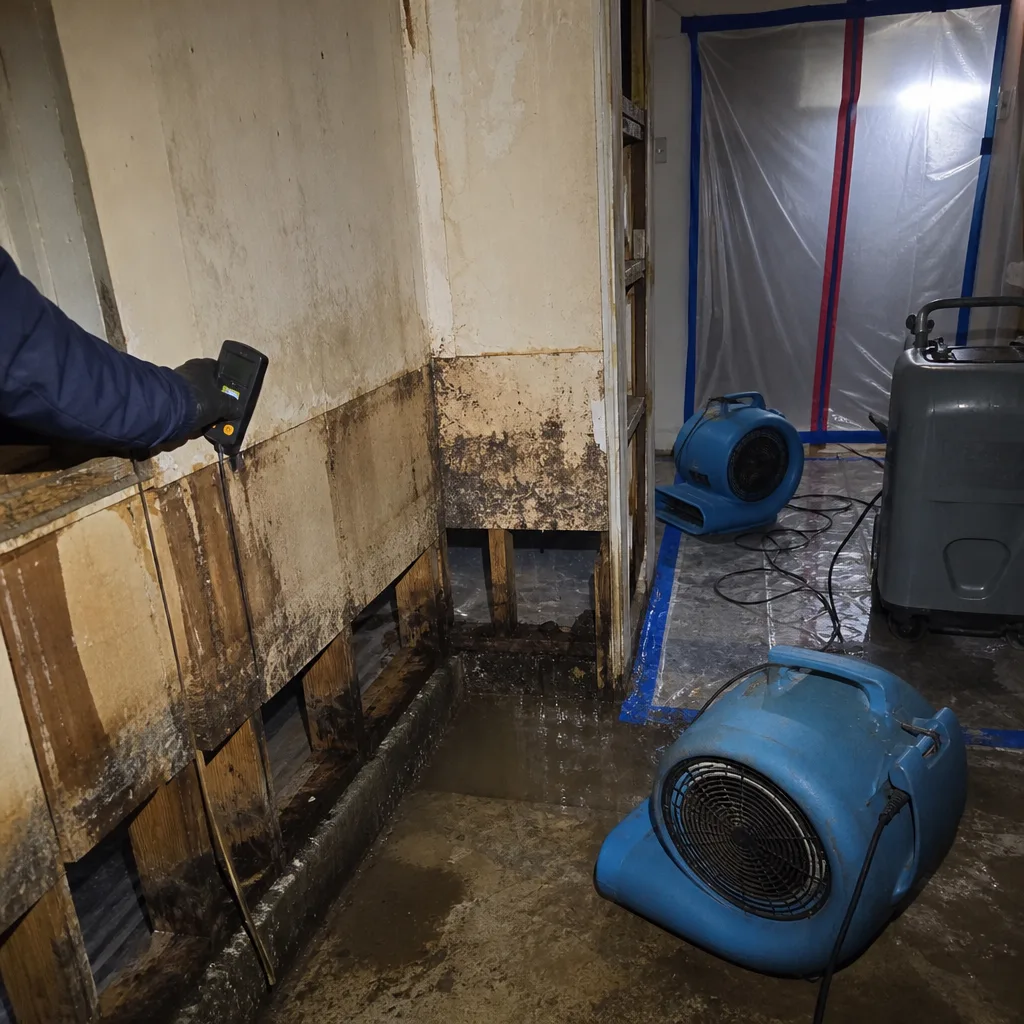 Before
 After
After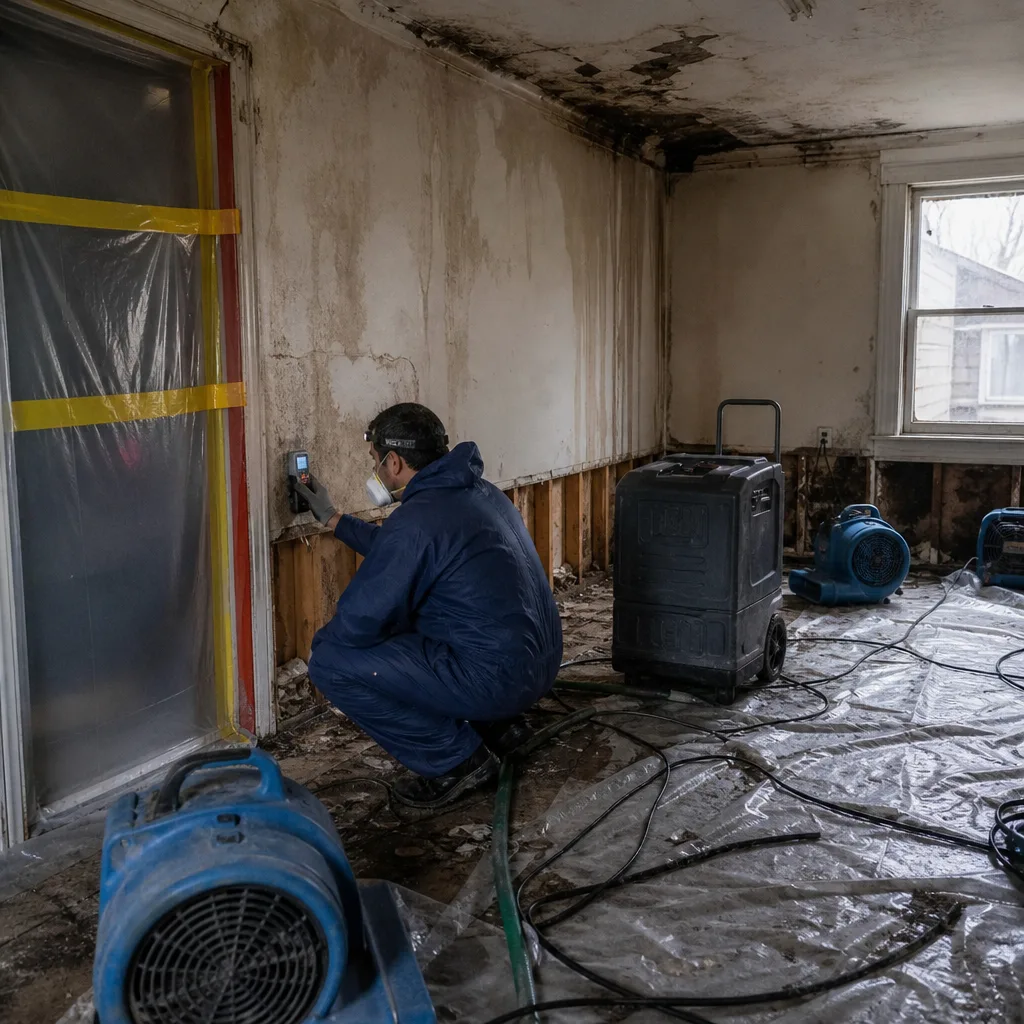 Before
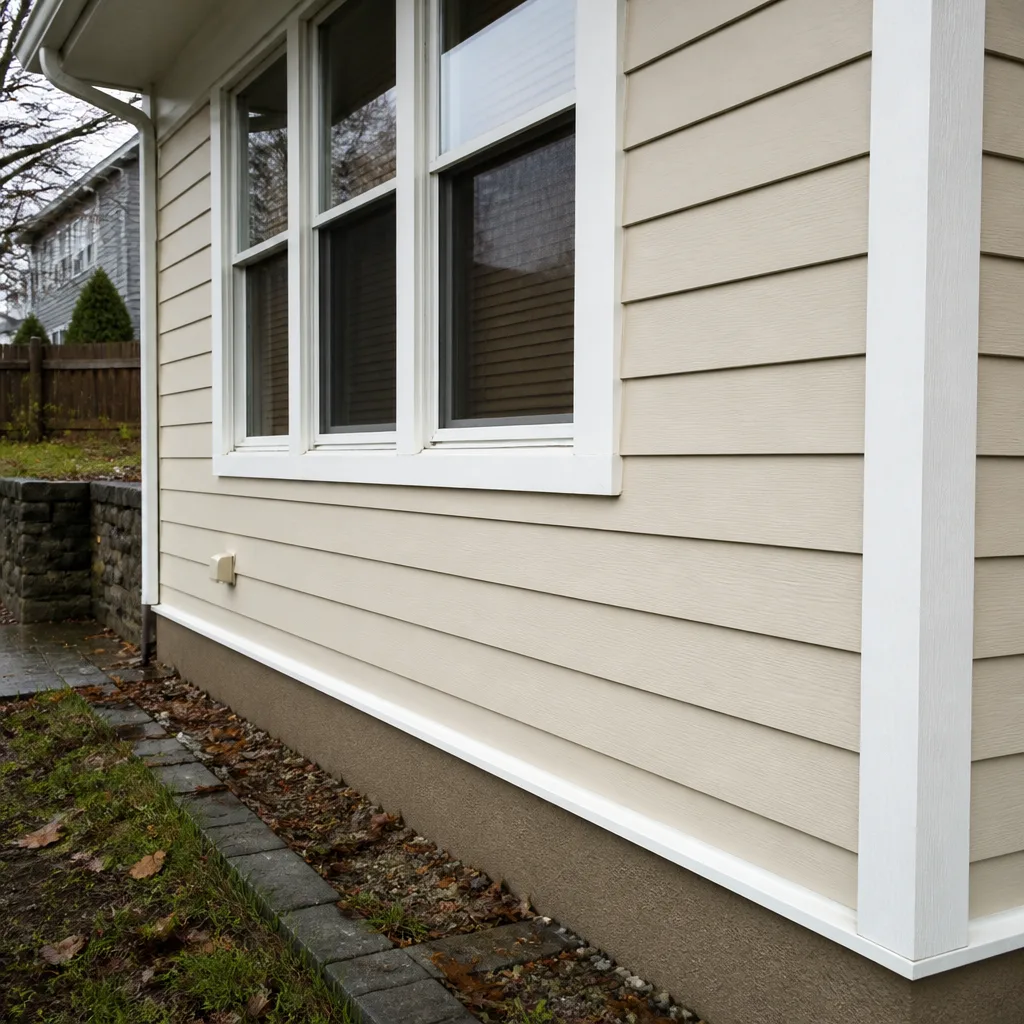 After
After